QC Sampling Cups and Spoons for Test Kitchens
Test kitchens need samples that are easy to identify, repeat and compare. A tasting cup or spoon may seem basic, but it influences panel bias, hygiene, sample cost and how quickly the team can reset between rounds.
This guide is for QC teams, product developers, sensory panels and test kitchens. It covers sample portioning, labelling, panel flow and the practical supplies that keep evaluations orderly.
A good sample setup lets the team focus on flavour, texture and performance instead of searching for cups or arguing about portion size.
Separate tasting from production
Sampling tools should be dedicated to the test environment where possible. Borrowed kitchen utensils create inconsistent portions and can introduce residue from previous tasks.
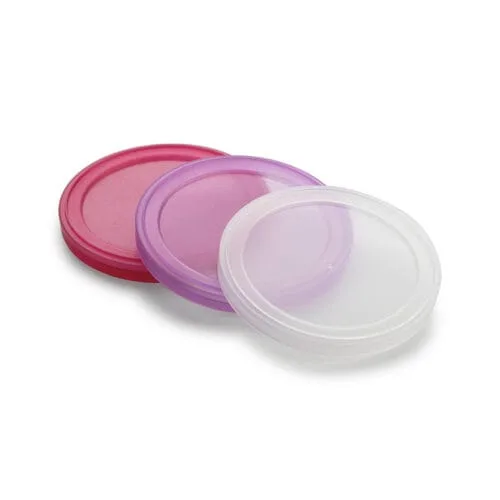
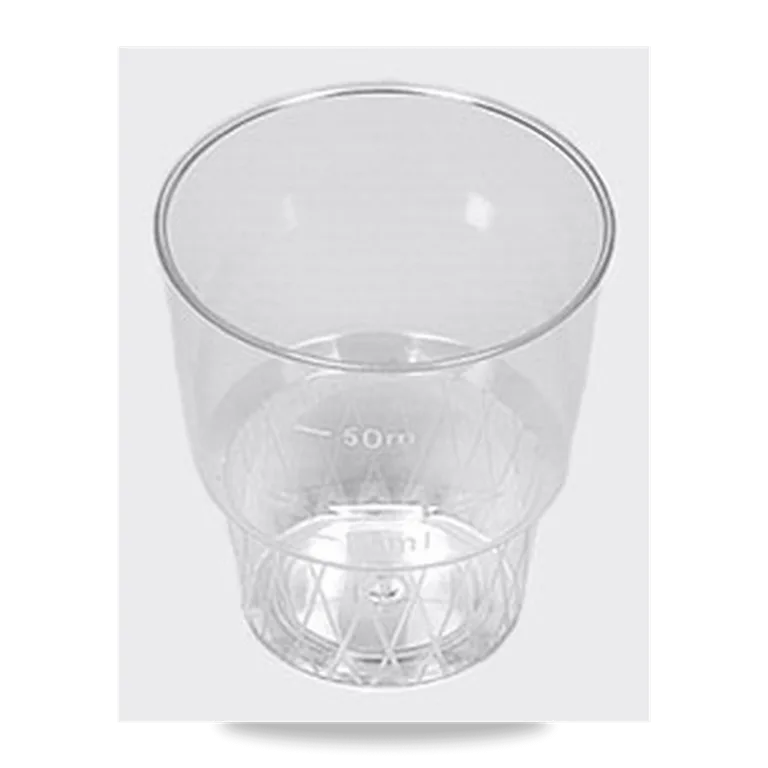
Clear cups are useful when colour or clarity matters. Opaque or covered samples may be better when the team wants to reduce visual bias. The buyer should know which type of evaluation is being run.
For multi-sample panels, labelling is as important as the cup. Codes should remain readable after handling, refrigeration or short transport between prep and tasting areas.
QC sampling checklist
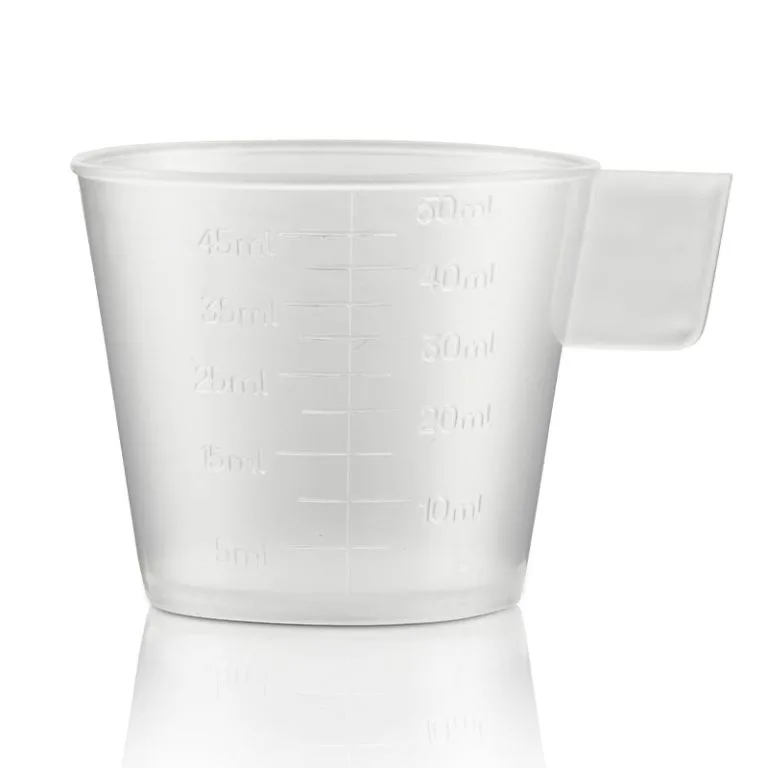
- Define sample size for each panel or test method.
- Choose cup visibility according to whether colour should be judged.
- Use labels or coded markers that stay readable during the test.
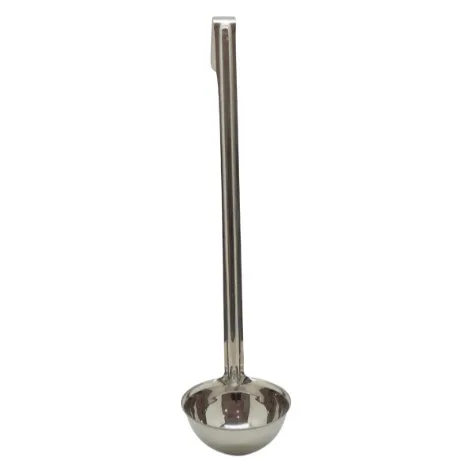
- Keep spoons separate for each sample to avoid carry-over.
- Plan waste and reset points between rounds.
- Store sampling supplies away from production utensils.
Sampling formats
| Buying situation | Better choice | Reason |
|---|---|---|
| Sensory panel | Coded cups and spoons | Panel members can compare samples cleanly. |
| Colour or clarity check | Clear tasting cup | Visual inspection is part of the evaluation. |
| Blind comparison | Covered or coded sample | The setup helps reduce visual bias. |
| Line-side QC | Small repeatable cup or scoop | Samples can be taken consistently during production. |
Panel preparation workflow
Prepare a sample map before filling cups. The map should show code, product, sequence and panel position. This prevents a rushed assistant from swapping samples at the table.
Fill samples as close to evaluation time as practical, especially for products that separate, melt or lose aroma. If samples must wait, lids or covered trays may be needed.
After the panel, record how many cups, spoons and labels were used. Over time this gives the QC team a reliable reorder level.
Procurement record to keep
Record the approved item against the task it supports: define sample size for each panel or test method. The note should include the product link, pack quantity, storage point and the person responsible for checking stock before the next busy period.
Add a short receiving check as well. Staff should compare the delivered item against the expected use case, such as sensory panel, and flag any substitution before it reaches the station. This prevents the common failure where a similar product is accepted even though it changes fit, portion size or daily handling.
Keep one review note after the first reorder. If the team reports letting each technician choose a different sample portion., adjust the approved list instead of allowing informal fixes. That turns procurement feedback into a controlled operating standard rather than another round of guessing.
For branch or shift handovers, add a photo of the approved setup and a plain-language note explaining why coded cups and spoons was chosen. This helps new staff follow the standard without needing to reinterpret the buying decision.
If the item is shared between departments, name the owning station. Shared supplies are usually where loss, damage and unplanned substitutions start. Ownership gives the buyer a person to ask when usage changes and gives the team a clear place to return the item after cleaning or service.
Keep this note with the purchasing file, not only in an email thread. The next buyer should be able to see the reason for the standard before changing it.
Internal Mitrend links for this buying task
- acrylic tasting cups – Use this page to compare related products, confirm pack options and plan the next procurement step.
- 2ml tasting spoon – Use this page to compare related products, confirm pack options and plan the next procurement step.
- flat ice cream spoon – Use this page to compare related products, confirm pack options and plan the next procurement step.
- round mini container – Use this page to compare related products, confirm pack options and plan the next procurement step.
- QC equipment category – Use this page to compare related products, confirm pack options and plan the next procurement step.
- food sampling supplies guide – Use this page to compare related products, confirm pack options and plan the next procurement step.
- Mitrend contact page – Use this page to compare related products, confirm pack options and plan the next procurement step.
QC sampling mistakes
- Letting each technician choose a different sample portion.
- Using clear cups when the panel should be blind to colour.
- Skipping waste planning between tasting rounds.
- Borrowing utensils from production areas.
- Not recording sample supply usage for reordering.
Buyer questions
Why standardise QC sample portions?
Standard portions make comparisons fairer and reduce waste.
Should samples always be in clear cups?
No. Clear cups help visual checks, but blind tests may need coded or covered samples.
Can tasting supplies be used on the production line?
They can, but dedicated QC stock is easier to control.
Author note
This guide was prepared for South African procurement teams comparing practical product choices on Mitrend. It focuses on buying control, daily use, reordering and fit-for-purpose selection rather than broad category claims.
Reliable test results start with a sample setup that is repeatable, labelled and easy to reset.